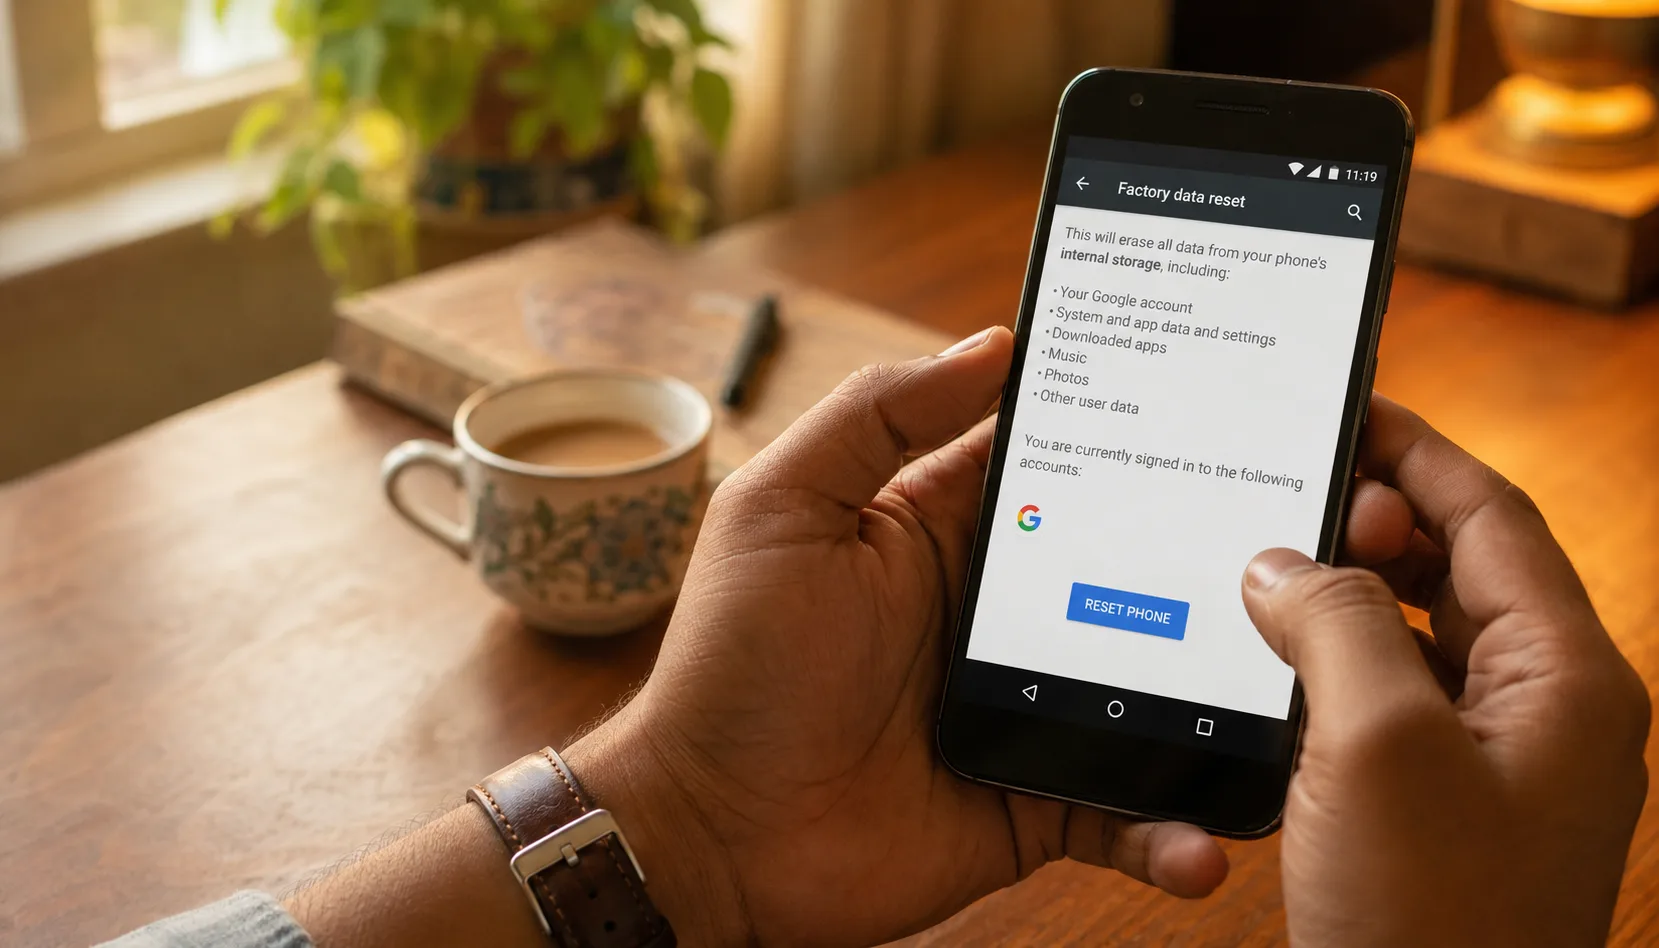
Your phone knows everything about you.
Your bank accounts. Your OTPs. Your messages. Your contacts. Your photographs - every one of them, going back years. Your email inbox. Your saved passwords. The apps where you remain logged in. The documents you scanned and stored. The navigation history of every place you have been.
Before that phone goes to anyone else - even with the best intentions, even through a verified giving platform - all of that must be completely, irreversibly removed.
Not 'deleted.' Not 'cleared.' Completely wiped, so that no data recovery tool can retrieve any of it.
Here is exactly how to do it for every major device type.
Before You Wipe Anything: Back Up What You Want to Keep
Spend 15 minutes on this before touching any reset setting.
Photos and videos: Upload to Google Photos or transfer to your new device. Google Photos offers free compressed storage - connect to Wi-Fi and let the backup complete before proceeding.
Contacts: Ensure your contacts are synced to your Google Account or exported to a VCF file.
WhatsApp: Settings → Chats → Chat Backup → Back Up Now. Your chats will be in Google Drive and can be restored on your new device.
Documents and files: Check Downloads, Documents, and any other folders where you store files. Transfer to Google Drive, OneDrive, or your new device.
App-specific data: Most apps sync automatically to cloud accounts. For any app with local data you care about, check its own backup settings before wiping.
Android Smartphones and Tablets: Step-by-Step
Critical first step - Remove your Google Account BEFORE resetting:
Go to Settings → Accounts → Google → [Your Email] → Remove Account
Why this matters: If you factory reset without removing your Google Account first, Google's Factory Reset Protection (FRP) activates. The new user will be unable to set up the device without entering your Google credentials - rendering the donation useless.
Remove all other accounts:
- Samsung Account (Settings → Accounts → Samsung Account → Sign Out)
- Social media apps - log out from within each app
- Banking and payment apps - log out and uninstall
Remove SIM card and SD card physically before the next step.
Enable Encryption (strongly recommended):
Settings → Security → Encrypt Phone → Follow prompts
This ensures that even if any data fragments survive the reset, they are unreadable.
Time required: 30-60 minutes on older devices. Keep plugged in.
Factory Reset:
Settings → General Management (or System) → Reset → Factory Data Reset → Reset → Delete All
Post-reset: The device restarts to the initial setup screen. You can go through basic setup (language, Wi-Fi) to confirm everything works, then leave it at the initial screen or add a basic guest setup for the recipient.
Windows Laptops: Step-by-Step
Back up all files first:
Check Desktop, Downloads, Documents, Pictures, Music, and Videos folders. Copy everything you need to an external drive or cloud storage.
Sign out of all Microsoft services:
- Settings → Accounts → Your Info → Sign Out
- Right-click OneDrive icon in taskbar → Settings → Account → Unlink this PC
- Sign out of Microsoft Office if installed
Deactivate software licences:
Adobe apps, antivirus software, and other licenced software must be deactivated before wiping. Each has its own 'Deactivate' or 'Deauthorise' option in account settings. If you skip this, your licence may be consumed by the device permanently.
The Reset - Critical Setting:
Settings → System → Recovery → Reset this PC → Remove Everything → Local Reinstall → Change Settings → set 'Clean the drive' to ON → Confirm → Reset
Why 'Clean the drive' is essential:
A standard reset removes your files but leaves them technically recoverable with basic data recovery software. With 'Clean the drive' enabled, the drive is overwritten with zeros - making recovery effectively impossible.
Time required: 1 to 3 hours. Keep plugged in. Do not interrupt.
After reset: Windows reinstalls and the device starts at the initial setup screen. This is the ideal state for the recipient - a clean Windows installation ready to be set up.
MacBooks and Apple Laptops: Step-by-Step
Back up first:
Use Time Machine with an external drive for a full backup. Alternatively, ensure everything important is in iCloud.
Sign out of Apple ID - do this before anything else:
System Preferences → Apple ID → Overview → Sign Out
This single action signs you out of iCloud, iMessage, FaceTime, App Store, and all Apple services simultaneously. It is the most important step for Mac.
Disable Find My Mac:
System Preferences → Apple ID → iCloud → Find My Mac → Uncheck
If Find My is not disabled, the next user cannot activate the Mac without your Apple ID credentials.
For Intel Macs (pre-M1):
Restart → Hold Command + R at startup → Disk Utility → Select main drive → Erase (APFS or Mac OS Extended) → Quit Disk Utility → Reinstall macOS
For Apple Silicon Macs (M1, M2, M3):
Shut down → Hold power button until 'Loading startup options' appears → Options → Continue → Select drive → Erase Mac → Erase Mac
Both processes require Wi-Fi to download macOS. Time required: 1 to 3 hours. Keep plugged in.
After reset: The Mac starts at the 'Hello' setup screen - completely clean, ready for the new user.
Chromebooks: The Simplest Process
Chromebooks are designed with easy reset in mind.
Powerwash:
Press Ctrl + Alt + Shift + R simultaneously → Select Restart → Select Powerwash → Continue → Sign out
After powerwash, the Chromebook starts at the initial Google login screen. All user accounts, files, and settings are removed. The process takes 5 to 10 minutes.
Note: Sign out of your Google Account before initiating Powerwash to ensure your account is fully removed from the device.
After Wiping: The Final Verification
After completing the wipe process, run through this quick verification:
☐ Device powers on to the initial setup screen (not to your account)
☐ No personal accounts are accessible
☐ No personal photos or files are visible
☐ Wi-Fi connects normally
☐ All basic functions work (screen, audio, camera)
☐ Battery charges when connected
☐ Charger is included with the device
If the device powers on to your account rather than the setup screen, the wipe was incomplete. Repeat the factory reset process.
Once verified, your device is ready to donate - your data is gone, completely, and the recipient has a clean device ready to set up as their own.
Data privacy is not a reason to avoid donating your device. It is a step in the donation process - one that takes 30 to 90 minutes and completely protects your privacy while giving a functional device a new, impactful life.
Wipe it. Test it. Donate it.
The student who receives it will not know what was on it before. They will know it works - and that it is theirs.
Donate Your Device Through CauseKind → Browse Student Device Requests Near You → Read the Complete Guide to Donating Electronics →
CauseKind is India's verified giving platform. Zero fees. Admin-verified listings. Every donation matched within 10 km and tracked to delivery.