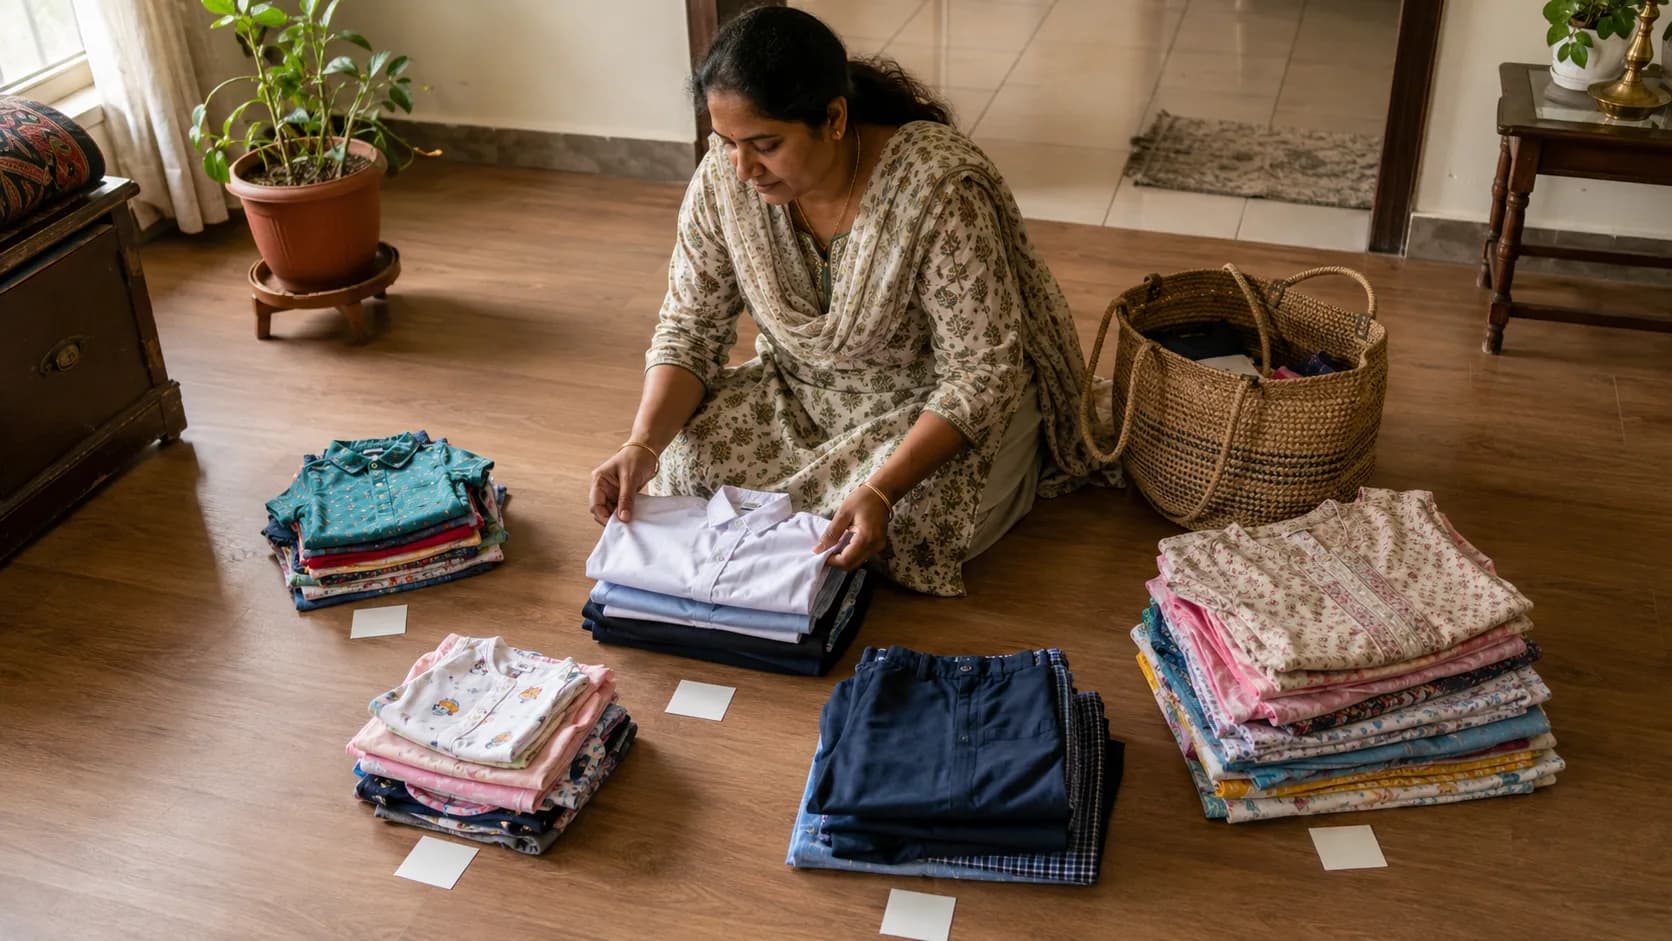
The clothes are sorted. The donation bag is ready. But are the clothes actually ready to go?
Most people skip the preparation step - and it shows at the receiving end. Clothes arrive damp, unsorted, unlabelled, mixed with items that do not meet condition standards. Volunteers spend hours sorting through what should have been sorted at source.
Preparing clothes for donation properly takes 30 to 45 minutes and makes an enormous difference to the people who receive your donation. Here is exactly how to do it.
Step 1 - Sort First, Pack Later
Before anything else, separate your clothes into two clear piles:
Pile A - Donatable: Clean, wearable, intact, appropriate for the recipient
Pile B - Not donatable: Damaged, stained, used undergarments, context-inappropriate
Apply the test: would you give this to a colleague you respect without embarrassment? If yes, Pile A. If no, Pile B.
Pile B items should be either disposed of responsibly (fabric recycling for damaged items) or kept. They should not go to a recipient.
Step 2 - Wash and Dry Everything in Pile A
Every item in your donation bag should be freshly washed.
Not 'washed at some point this year.' Washed now, before packing.
Why:
- Clothes stored for long periods accumulate dust, mites, and odour even without visible soiling
- A recipient should be able to wear a donated item the same day without washing it
- Damp or unwashed clothes contaminate other items in the bag
After washing: dry completely before packing. Completely means fully dry - not damp in any fold or seam. Damp clothes develop mould within 24 to 48 hours, especially in monsoon season.
Step 3 - Check Each Item After Washing
Washing sometimes reveals condition issues that were not visible beforehand:
- Colours that bleed or run badly
- Stitching that comes apart in the wash
- Stains that persist after washing
Re-evaluate each item after washing. If the wash has revealed a problem, that item moves to Pile B.
Step 4 - Sort by Category, Gender, and Size
Once washed and dry, sort your donation pile into groups:
By category:
- Children's clothing
- Women's clothing
- Men's clothing
- Footwear
- Winter wear
- School uniforms (separate - these are high priority)
By approximate size within each category:
- Children: by approximate age (3-5 years, 6-8 years, 9-12 years, 13-16 years)
- Adults: S, M, L, XL, XXL
This sorting takes 10 extra minutes and saves the recipient or distribution volunteer significant time.
Step 5 - Fold or Roll Neatly
Fold or roll each item neatly before packing.
Neat packing:
- Communicates respect for the recipient
- Prevents items from becoming wrinkled and requiring ironing before use
- Allows more items to fit in the bag without crushing
- Makes the unpacking and sorting process much faster for the recipient
Stacke folded items by category, not mixed together.
Step 6 - Label Your Bags Clearly
Use simple sticky labels or paper labels tied to the bag handle:
Examples:
- 'Children's clothes - boys - ages 6 to 10 - 12 items'
- 'Women's salwar kameez - sizes M and L - 8 items'
- 'School uniforms - white shirts and grey trousers - sizes for Class 5 to 8'
- 'Winter sweaters - children's - ages 4 to 12'
Labelling removes the need for the recipient to open and inspect every bag before distributing - they can match bags to needs immediately.
Step 7 - The Final Checklist Before Handing Over
Before the bag leaves your home:
☐ All items sorted - no damaged items in the bag
☐ All items washed and completely dry
☐ All items folded neatly and sorted by category and size
☐ Each bag clearly labelled with contents and sizes
☐ Used undergarments removed (these are never donated)
☐ A rough count of total items noted - useful for documentation
☐ Matched to a verified recipient on CauseKind or confirmed with receiving organisation
Thirty minutes of preparation. Clothes that arrive ready to wear. A recipient who experiences the donation as a considered gift rather than a wardrobe clear-out.
That is the difference between donating clothes and donating well.
Match Your Prepared Clothes to a Verified Recipient → Browse What Is Needed Near You → Read: What Clothes Should Not Be Donated →
CauseKind is India's verified giving platform. Zero fees. Admin-verified listings. Every donation matched within 10 km and tracked to delivery.